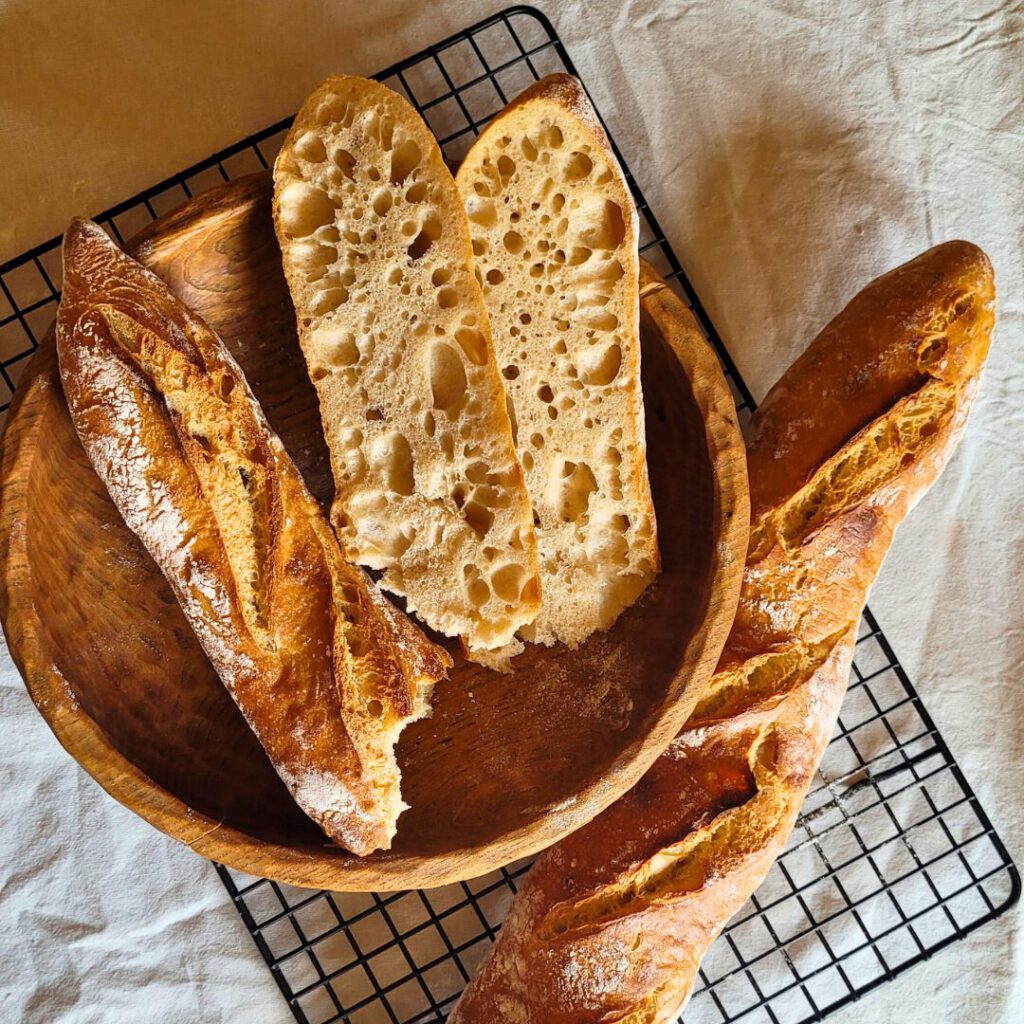
To be honest, I struggled with sourdough baguettes for a long time, longer than with sourdough croissants. Either the baguettes turned out flat or were dry, hard and sometimes even burnt on the worst days. But after a lot of fiddling and testing, today I have this simple recipe for crispy sourdough baguettes with a particularly long fermentation time for you. Thanks to regular stretching and folding, the dough has enough stability to hold its shape despite the high water content. It was also a real game changer to put the baguettes back in the fridge for the second proofing. The cold makes the dough firmer and much easier to transfer to the oven.
✨ The links with an star* are affiliate links. If you click on one of these links and buy something, I get a small commission and you support my work (thanks for that 🧡). This does not change the price for you. You can find more information on privacy policy here.✨
Sourdough baguettes with long fermentation overnight
The baguettes get their rich aroma and open crumb from a pre-dough and a particularly long overnight proofing. The dough works without yeast. I first mixed a pre-dough from sourdough starter, water and flour. After four hours, I added the remaining ingredients and stretched and folded the dough regularly. This gives the relatively soft dough its stability. After another five to six hours of proofing, the dough is placed in the fridge overnight. In total, the dough for the sourdough baguettes is left to ferment for 22 hours. If you want to make fermentation even longer, you can also leave it to rest in the fridge for longer before shaping the baguettes.

More French recipes with sourdough
If you ask me, there’s nothing better than freshly baked French pastries! Be it a crispy croissant for breakfast, rich brioche with jam or sweet treats such as tartelettes, bostock or crunchy almond croissants. Which items should not be missing on your visit to the boulangerie?
What you need for French sourdough baguettes
- Wheat flour: The best flour for baguettes is bread flour or wheat flour 550.
- Water: Cold in summer and lukewarm in winter.
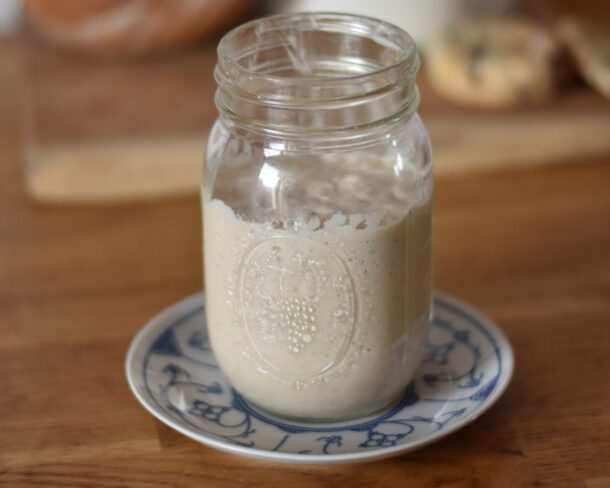
- Sourdough starter: The sourdough doesn’t have to be freshly fed, but it shouldn’t have been more than a week since it was last refreshed. If you have discard left over, I have the right recipes for you here. I feed my sourdough with equal parts water and flour. For the flour, I use a mixture of wheat flour and wholegrain rye flour. If you feed your sourdough with a different water-to-flour ratio, you will need to adjust the amount of water in the recipe accordingly.
- Olive oil, virgin.
- Salt for the flavour.
In three steps: How to make French baguettes at home
Mix the dough
For the pre-dough, mix* 200 g water with 200 g wheat flour and 50 g sourdough starter. Cover the dough and leave to rest at room temperature for four hours.
Mix the remaining flour, water, oil and salt into the dough, cover and leave to rest for a further four to six hours. After the first 30 minutes, stretch and fold once and repeat the process three to four times. Then place the dough in the fridge overnight.

Shape the baguettes
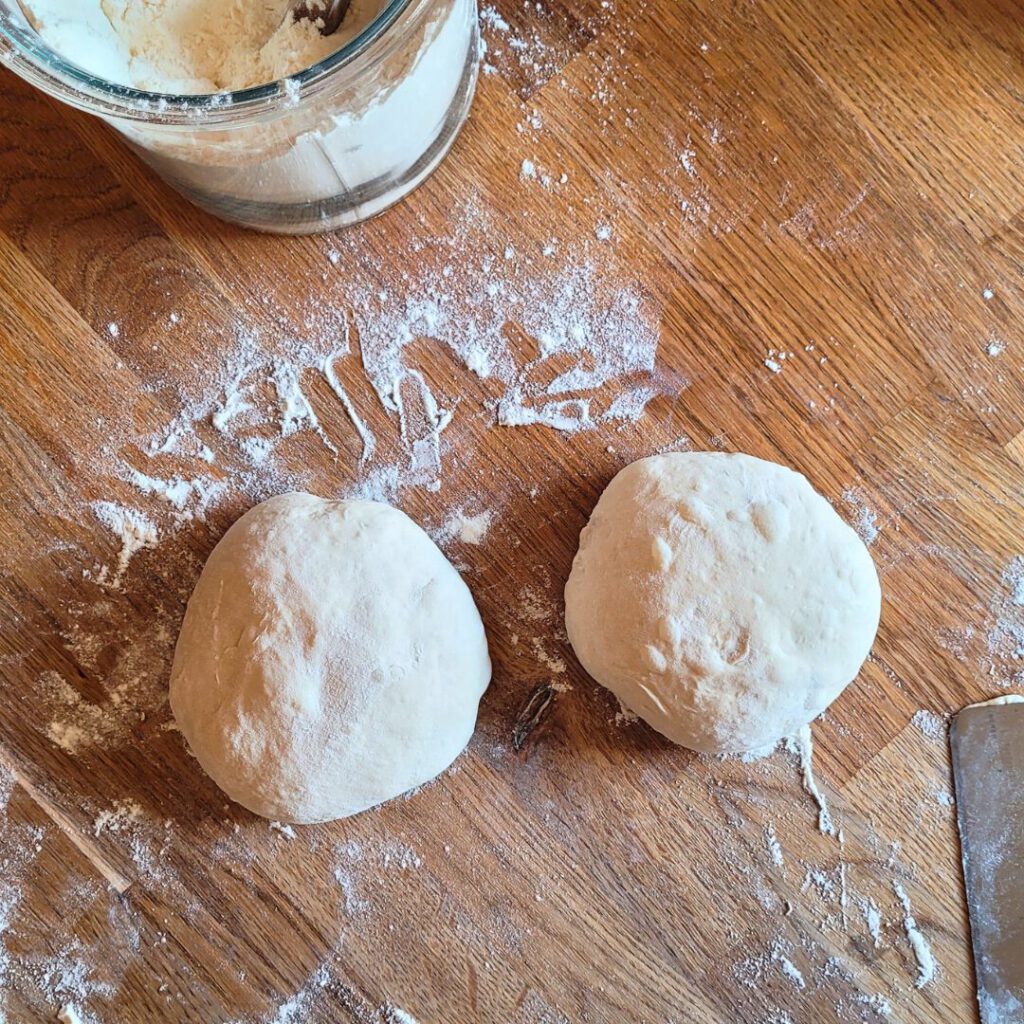
Carefully transfer the dough to a floured work surface and cut into three equal pieces using a dough scraper*. Shape the dough pieces into rounds and leave to relax for 10 minutes. Turn the dough pieces with the seam facing upwards and roll them into long baguettes while applying tension.
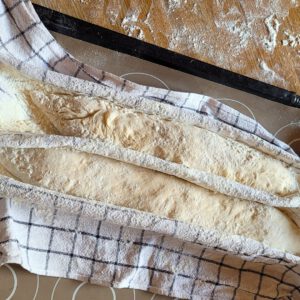
Dust a cotton or linen cloth with flour and place the baguettes on it so that the cloth forms a barrier between the dough pieces.
Then place the baguettes in the fridge for at least an hour. This creates a thin skin and the sourdough baguettes are easier to score.

Bake the baguettes until crispy
Preheat the oven to 250 degrees using a baking stone* and a steam tray consisting of a stainless steel oven dish* and lava stones*.
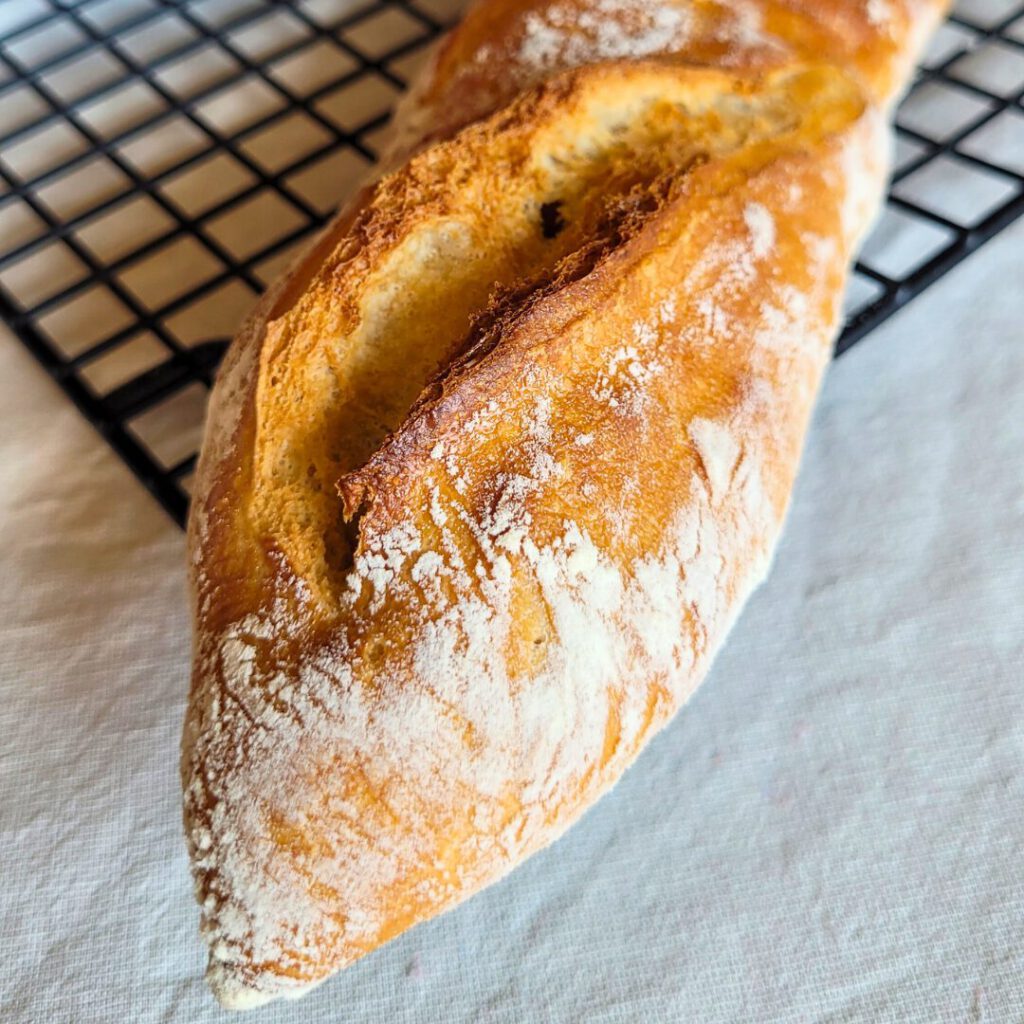
Carefully place the baguettes on the hot stone and score three times lengthwise with a baker’s knife*.
Reduce the heat to 230 degrees and bake the baguettes for 10 minutes with steam and 10 minutes without steam until crispy.
Potential schedule: How to make sourdough baguettes
| Day 1 | 11 a.m. | Mix the pre-dough and leave to rest. |
| 3 p.m. | Mix all the other ingredients into the dough and stretch and fold regularly. | |
| Between 8 and 9 p.m. | Place the dough in the fridge overnight. | |
| Day 2 | 8 a.m. | Transfer the dough to a floured work surface, shape the baguettes and place in the fridge for one to two hours. |
| 9 a.m. | Preheat the oven with a baking stone and a steam tray. | |
| 9.30 a.m. | Bake the sourdough baguettes until crispy. |
Helpful tools – My recommendations
✨ The links with an star* are affiliate links. If you click on one of these links and buy something, I get a small commission and you support my work (thanks for that 🧡). This does not change the price for you. You can find more information on privacy policy here.✨
- A grain mill* for freshly ground wholemeal flour.
- A Danish Whisk* – especially if you don’t use a kitchen machine. This allows you to mix your ingredients without the whole dough sticking to the spoon.
- A kitchen scale*.
- With this sharp baker’s knife*, you can make precise cuts in your bread and get creative with intricate scoring patterns.
- You can use a stainless steel dough knife* to cut your dough pieces or shape your loaves.
- A steam tray consisting of a stainless steel oven mould* and lava stones*. The tray is filled with the stones and placed on the bottom of the oven during preheating. When you put your bread in the oven, pour hot water onto the stones. This creates steam, which ensures that your bread rises well.
- Baking steel* to make your bread, rolls and pizza nice and crispy.
- A cooling rack* for bread, rolls and waffles.
- A stainless steel kettle* with different temperature settings for soaking ingredients.
- A sharp bread knife*.
- A stainless steel toaster* for slices of bread, toast and rolls.
You can find more product recommendations here.
More sourdough baguettes
Recipe for simple Sourdough Baguettes with Spelt
These sourdough baguettes were a bit of an accident, but a pretty happy one! After the mini version, the French classic has been on my list for a long time, but I haven’t had the courage to try it yet. And this time, I actually only wanted to bake a spelt bread as a…

Recipe: How to Make Simple Sourdough Baguettes
Ingredients
- 500 g cake flour bread flour or wheat flour 550
- 375 g water cold in summer, lukewarm in winter
- 50 g sourdough starter
- 1 tbsp. olive oil
- 1 tsp. salt
Instructions
Day 1
- For the pre-dough, mix* 200 g water with 200 g wheat flour and 50 g sourdough starter. Cover the dough and leave to rest at room temperature for four hours.
- Mix the remaining flour, water, oil and salt into the dough, cover and leave to rest for a further four to six hours. After the first 30 minutes, stretch and fold once and repeat the process three to four times. Then place the dough in the fridge overnight.
Day 2
- Carefully transfer the dough to a floured work surface and cut into three equal pieces using a dough scraper*. Shape the dough into rounds and leave to relax for 10 minutes.

- Turn the dough pieces with the seam facing upwards and roll them up under tension to form long baguettes.

- Dust a cotton or linen cloth with flour and place the baguettes on it so that the cloth forms a barrier between the dough pieces.

- Then place the baguettes in the fridge for at least an hour. This creates a thin skin and the sourdough baguettes are easier to score.
- Preheat the oven to 250 degrees using a baking stone* and a steam tray consisting of a stainless steel oven dish* and lava stones*.
- Carefully place the baguettes on the hot stone and score three times lengthwise with a baker’s knife*.
- Reduce the heat to 230 degrees and bake the baguettes for 10 minutes with steam and 10 minutes without steam until crispy.

Have you tried one of my recipes?
⭐⭐⭐⭐⭐
You would help me a lot if you would rate this recipe and write your feedback in a comment. Thank you! 🧡
Feel free to show me how it turned out! Link @kruemelig on your Instagram or Facebook post or use #kruemelig. If you want to remember the recipe for later, feel free to save it on Pinterest!







0 Comments